Creating a return within Blast Ramp is a three step process. You create the return, you can then edit return (if you need to make any changes), you inspect the return and finally you close the return. You can also print a copy of the credit note for your customer.
Important Note: When creating a return, the pricelist currency will default to the currency that is set for that DC.
Step 1: Create a Return
Navigation: Returns > Create
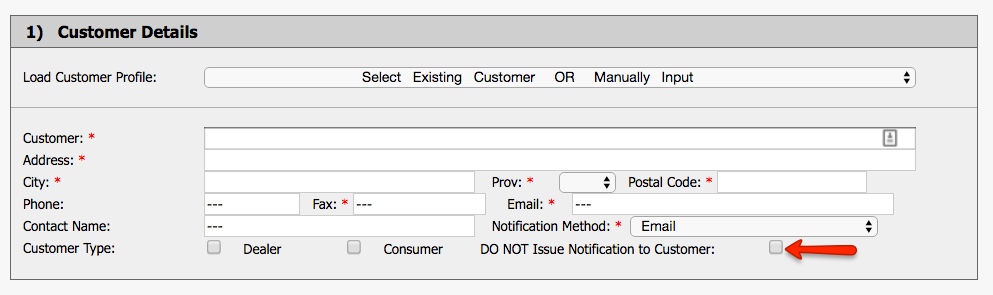
Section 1) Customer Details: Load the customer profile from the drop down menu and the customer details will populate.
- Under customer Type: you need to select either Dealer (a shop) or Consumer (a purchasing customer).
- A Notification method is available to send to your customers via email or fax as a drop down menu option. The customer will receive an email link of the RA# which they can click to view the instructions on how to return the product.
Email Link Example:

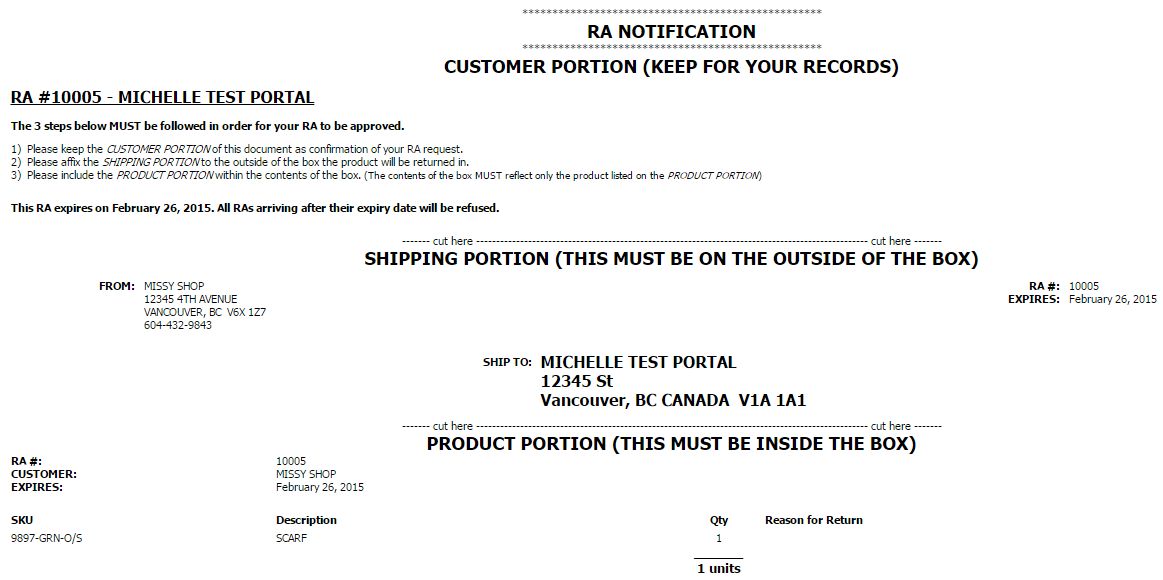
RA Notification Example, which they would print out and put on the outside of the box.
💡Tip: You have the option to NOT Issue Notification the customer by just check off DO NOT Issue Notification To Customer.
Section 2) RA Contents: Select the Linelist > load.
- The SKUs will display with two columns to choose from FRST (First Quality) or DFCT (Defective).
- Enter the quantity beside the SKU being returned and reason for the return.

Section 3) Finalize RA:
- You can either manually enter an RA# or click Automatically Assign Next Default RA# for you
- Enter the Expiry Date
- Enter Comments (if needed)
- Select Rep Name
- Click Submit

Note: If you need to create a Replacement order from an Return: Click here - How to Create a Replacement Order from a Return
Next step INSPECT A RETURN: