Scan and Pack is a great module to increase your warehouse accuracy and efficiency when packing orders while reducing errors.
Navigation: Please contact help@blastramp.com to get access to module.
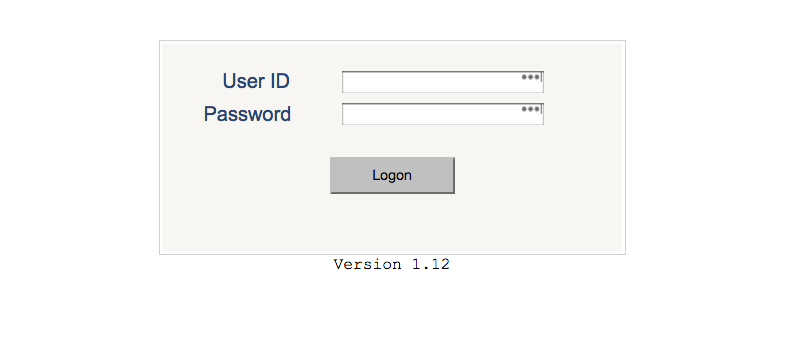
- Enter your Username and password.
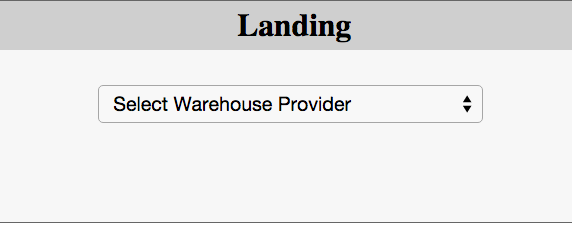
- Select Warehouse Provider from the drop down menu.
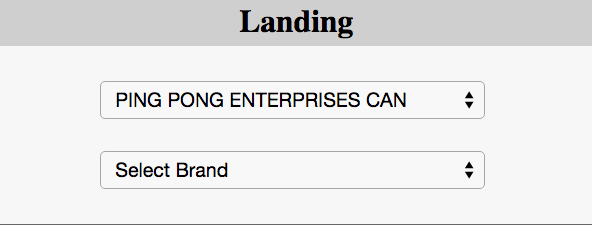
- Select Brand.
- Select Task Type, in this case Outbound.
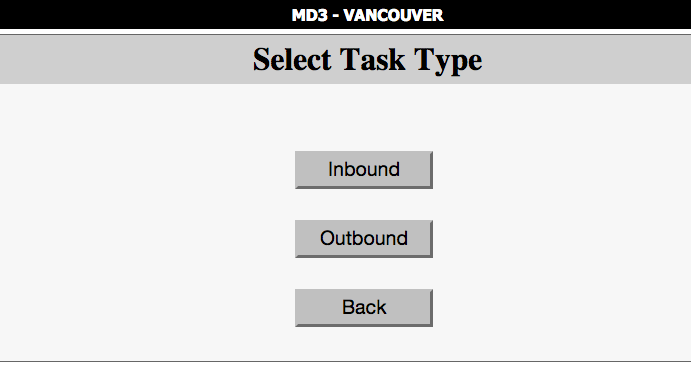
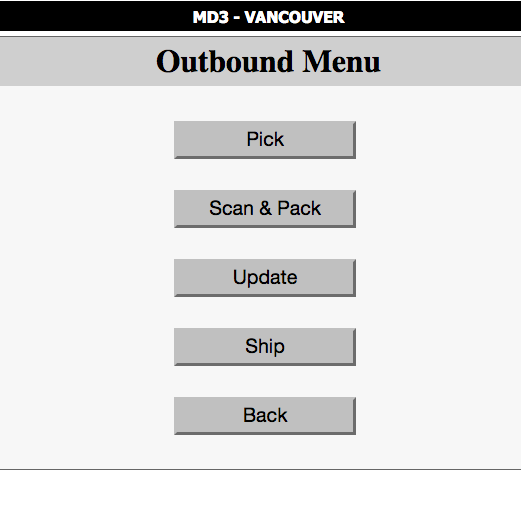
- Select Scan & Pack from the Outbound Menu.
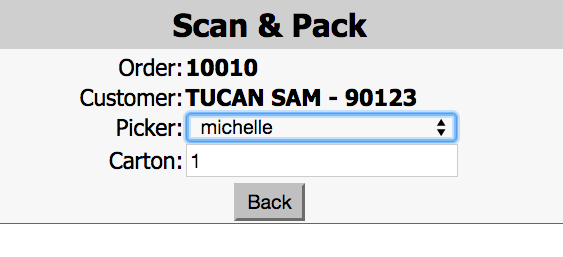
- Scan Carton order ID from the pick tickets you downloaded > Click Tab

- The order number and customer name will display. Select Picker > enter 1 for your first box > click Tab
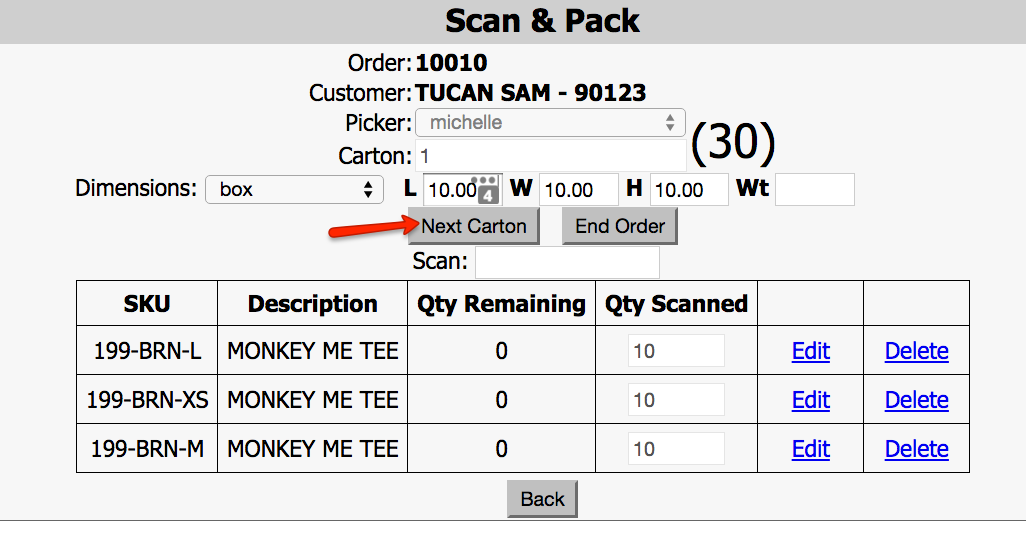
- Dimensions select box > enter Length X Width X Height. Scan your first Item either by UPC code or Barcode.
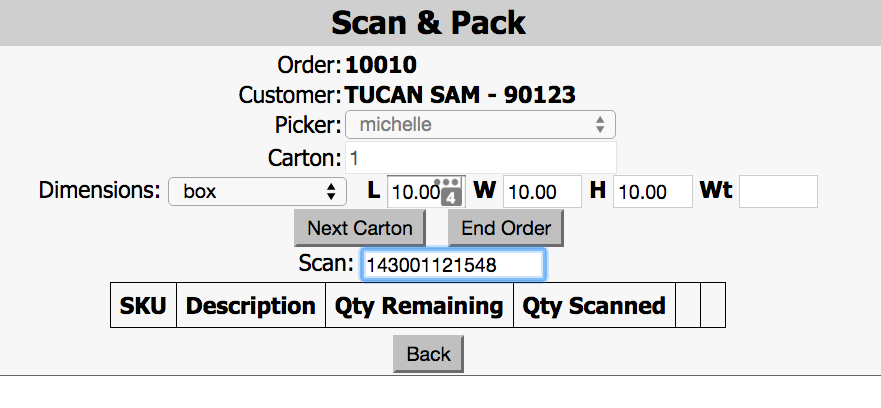
Note: We have a custom box option. Please contact help@blastramp.com to setup box dimensions into the list.
- You will see the item display below. You can either scan each item one at a time or click Edit > enter Qty Scanned > click Update.
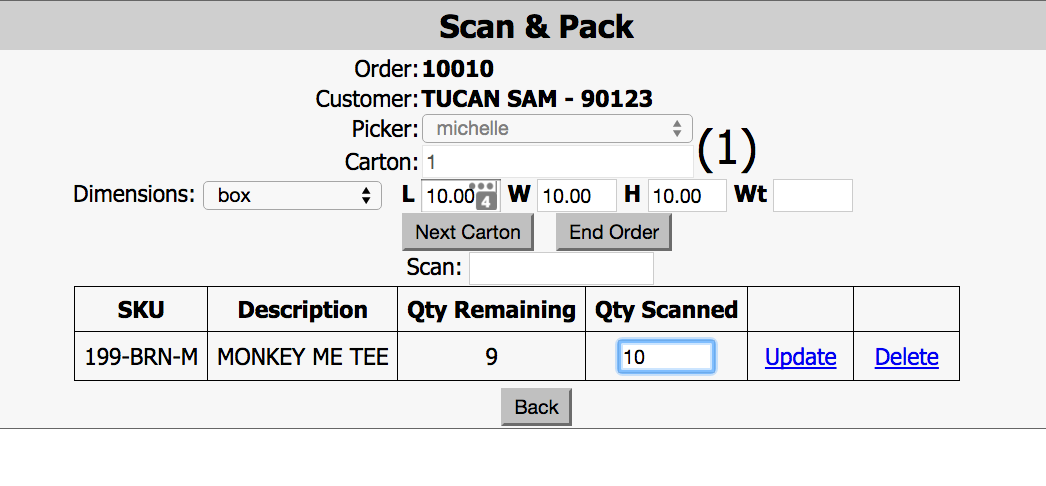
Note: Make sure you enter the Weight(Wt) prior to clicking Next Carton.
If an item that is not on the order is scanned, a warning will appear

- Once you are done with carton 1, you can either click Next Carton or End Order.
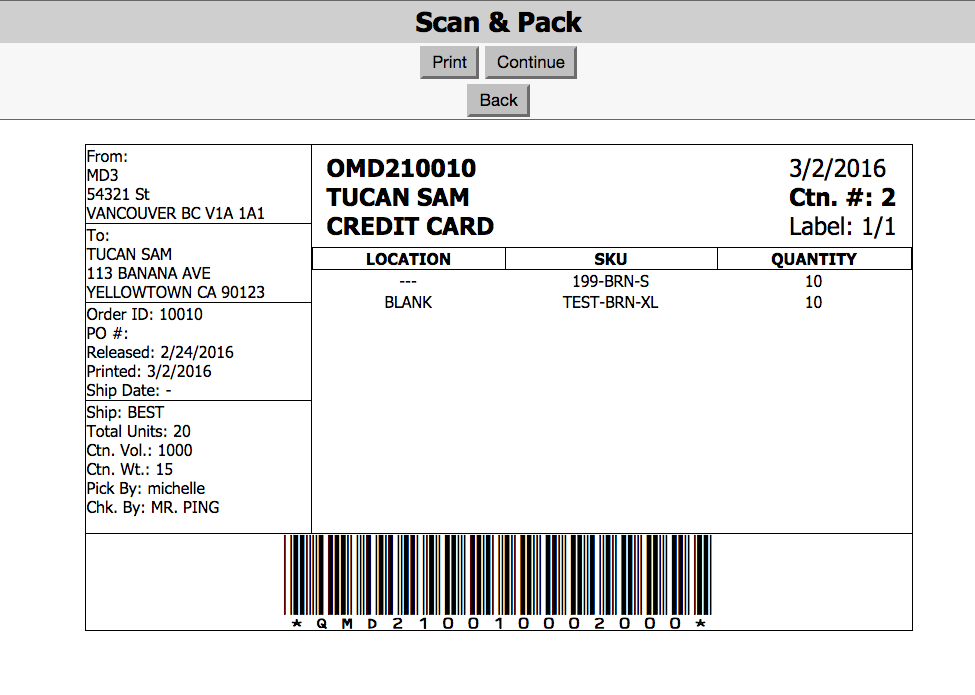
- A label will display so you have the option to Print or Continue.
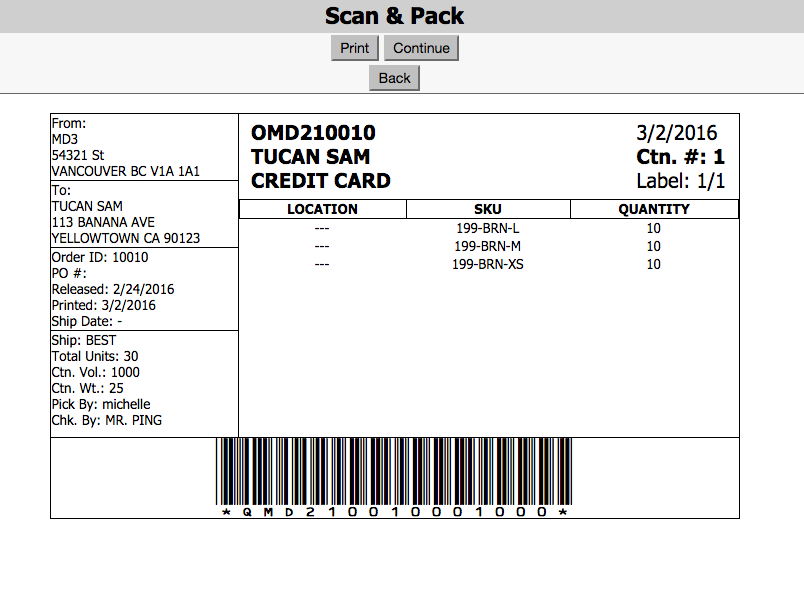
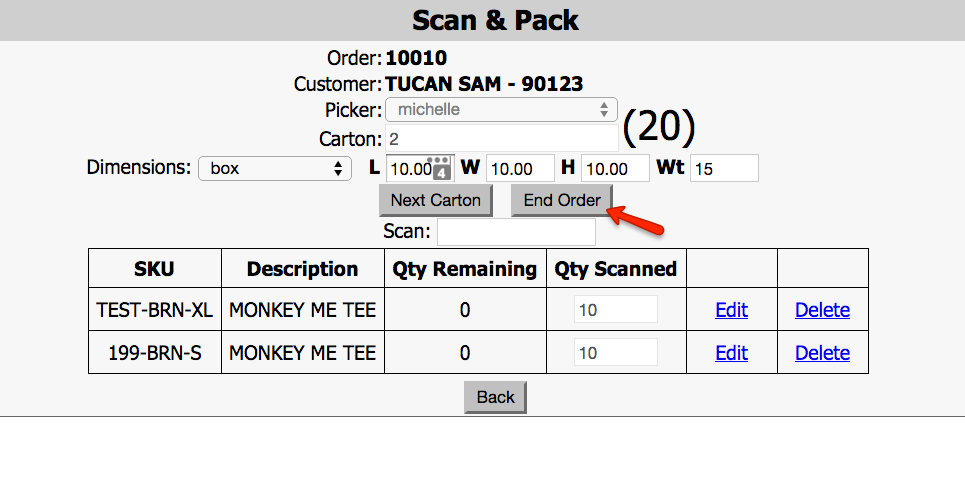
- When selecting Continue, it will take you back so you can select the Picker, Carton 2 and continue with scanning order items.
- Note: IF you missed any units an Exception Report will display listing all the items that have not been packed.
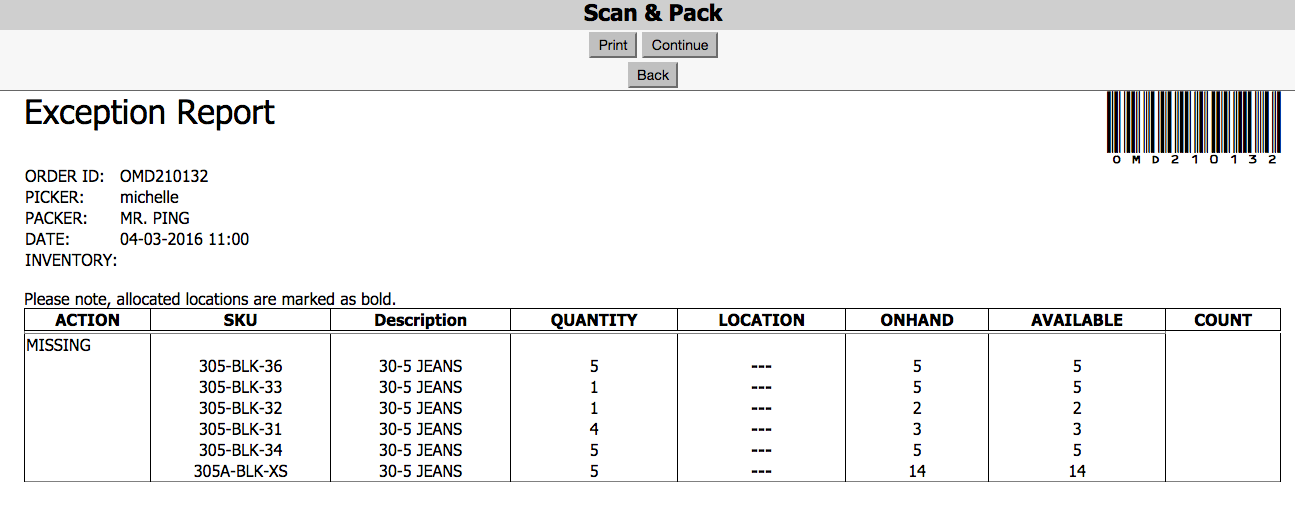
- You must re-enter last carton number and re-scan the items.
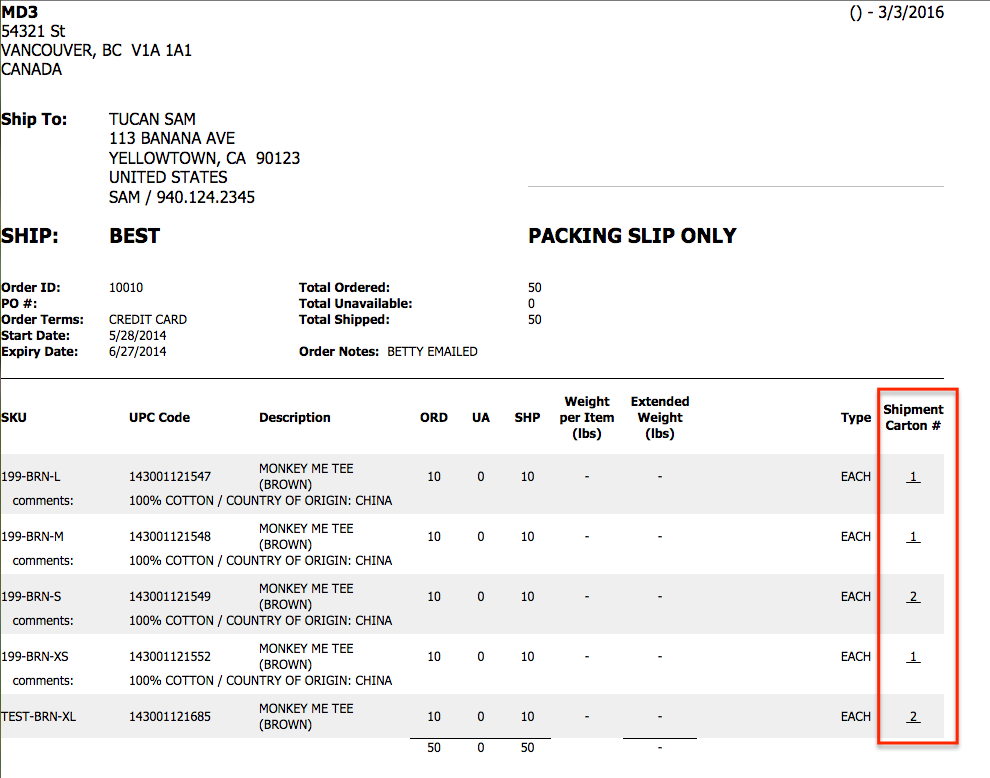
- When order is fully packed > click End Order. A packing slip will display showing your items and which box they are all in. You have the option to Print or Continue.
- Then your second label will display for you to Print then click Continue.
You have successfully used scan and pack for your order. Now you are ready to update and ship out the order out of Blast Ramp.